
Today's post is going to be another DIY craft project of mine: a mosaic owl on canvas, made with sea glass & aquarium pebbles.
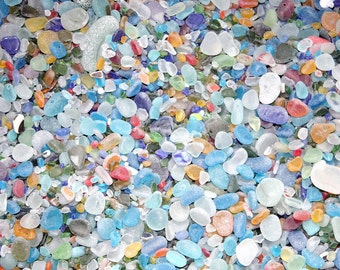
(Image by Etsy on their website {https://img0.etsystatic.com/020/0/7786111/il_340x270.483537702_1pgr.jpg}.)
In order to complete this project, you will need:
- Any Size Canvas You Like
- Flat-Sided Aquarium Marbles
- Assorted Aquarium Gravel/Stones
- Mod Podge Craft Glue
- A Sponge Brush
- A Pencil
Canvases can cost about $3 or $4, depending on where you purchase them. Mine is from Ollie's Bargain Outlet.Flat-Sided Aquarium Marbles and Aquarium Gravel/Stones can be found at a variety of retailers such as, craft stores, pet stores, Walmart, etc. Bags of each are usually about $2-$3 apiece.Mod Podge comes in a variety of sizes, but for a project this size, the bottle you need is only about $4. You can find this at Walmart or any craft retailer.Sponge Brushes are easy to find at just about any retailer. I purchased mine in a package of about 10 at Dollar Tree for $1.

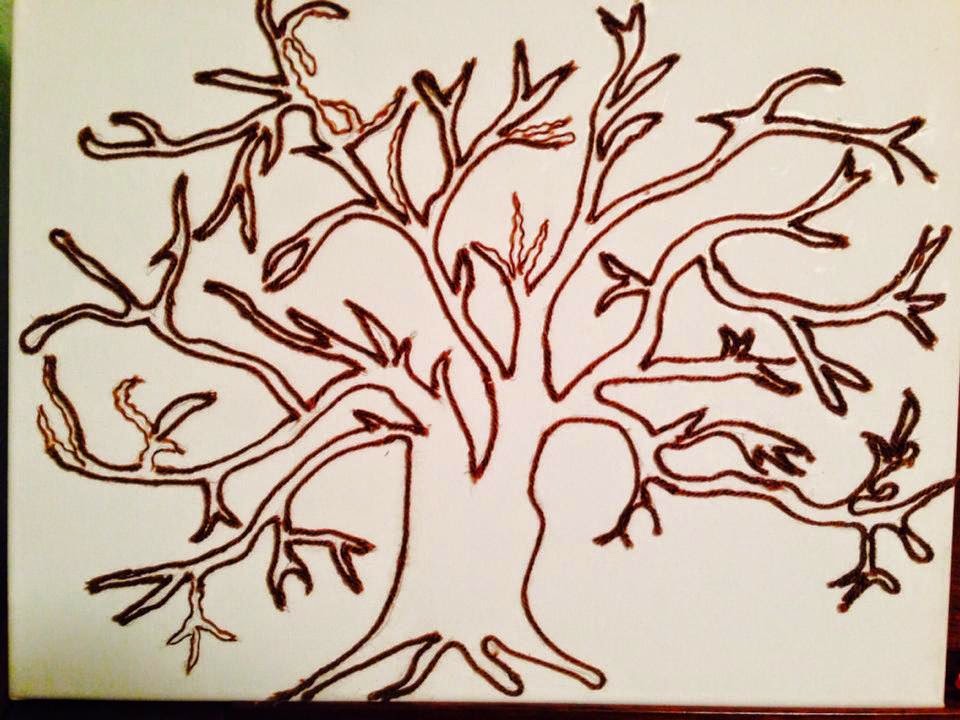
I first made a rough sketch on my canvas of what I wanted my image to look like.

Next,
I used my sponge brush & Mod Podge craft glue to dab along my sketch. I then took randomly chosen pebbles for the body, flat-sided marbles for the wings, and sea glass for the face & tail and adhered them to the
canvas.
I repeated this process until my owl's entire body was covered with the various stones & pebbles.
Then, I used my sponge brush & Mod Podge to paint a layer of craft glue all over the entire project & canvas. As with several of my other canvases, this not only helps to set and secure all the pebbles andstones , but it leaves the piece with a nice, glossy shine once it's dried.

Voila! You Have a Sea Glass/Aquarium Pebble Owl Mosaic Canvas!
Thank You & Enjoy!


